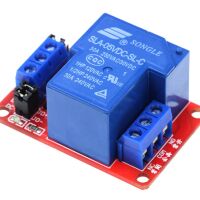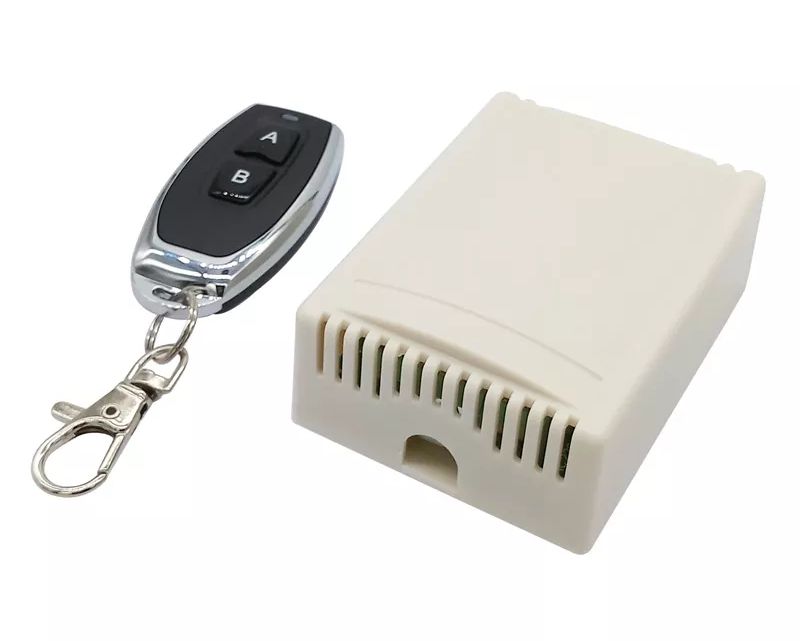
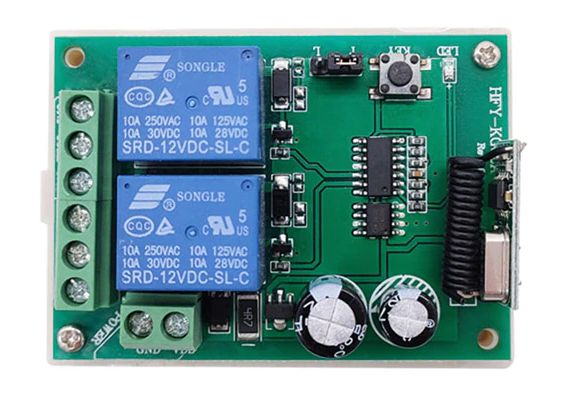
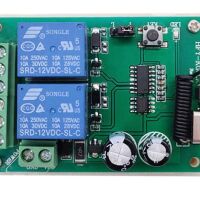
RF 433MHz Relais module 12V, 2x250V/10A NO/NC met afstandsbediening A-B
€ 10,97 incl. BTW
- Beschrijving
- Aanvullende informatie
- Q & A
Beschrijving
Informatie (ENG)
Input Voltage: 12 V, RF working mode: Superheterodyne
• Receiver sensitivity: > 97 dbm
• Transmitting distance:> 100 m ( open space)
• Decoding mode: MCU software decoding
• Remote storage: 20
• Support remote type: EV1527 learning code
• Working mode: Momentary, toggle, latching time delay (5s ,10s ,15s )
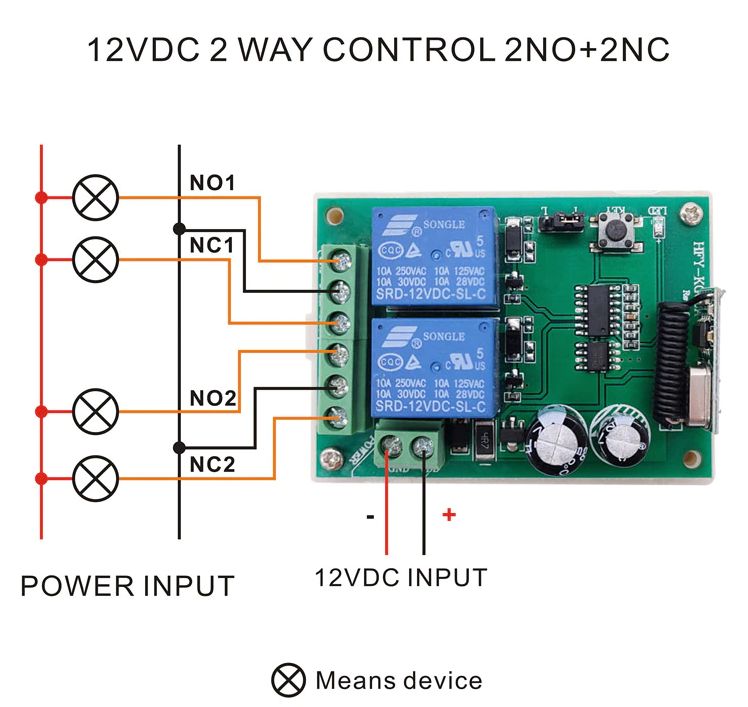
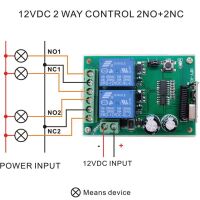
• Output terminal: NO , NC , COM
• Remote control battery: 2 x 3 V CR2016 button batteries
Note: Maximum input power is 250 W
-Operation Instruction (Please watch the How to Use video via PC )
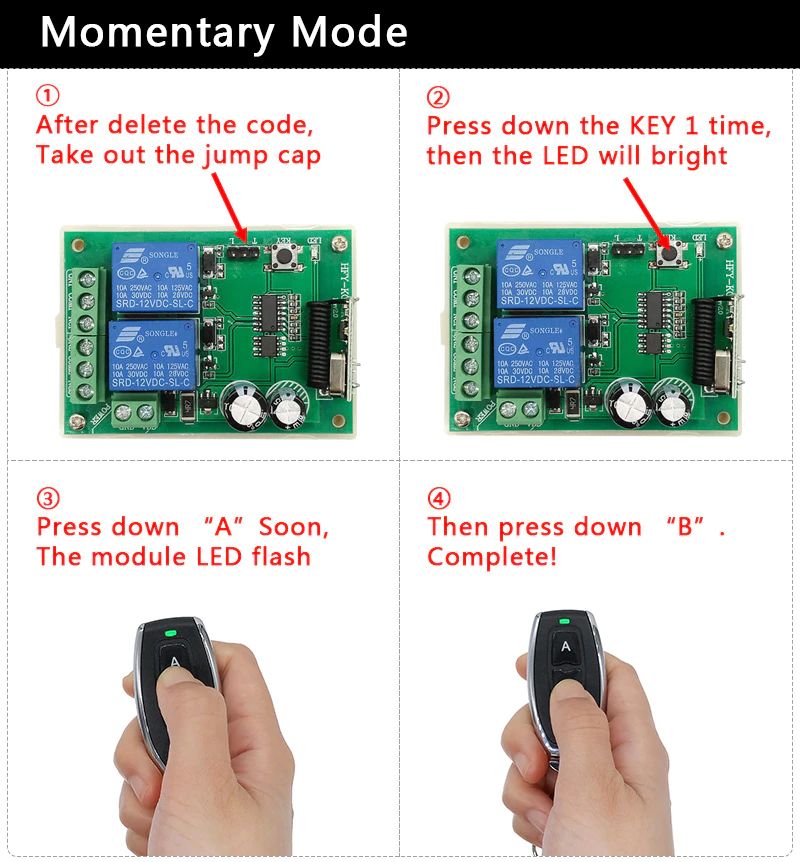
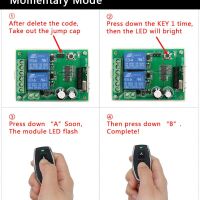
1. Momentary/Jog: Press and hold->on; Release->Off
Keep pressing one button , the corresponding channel is working /on;
Loosen your finger is stop/OFF .
(4 channel switch(receiver) need 4 button remote control (transmitter ))
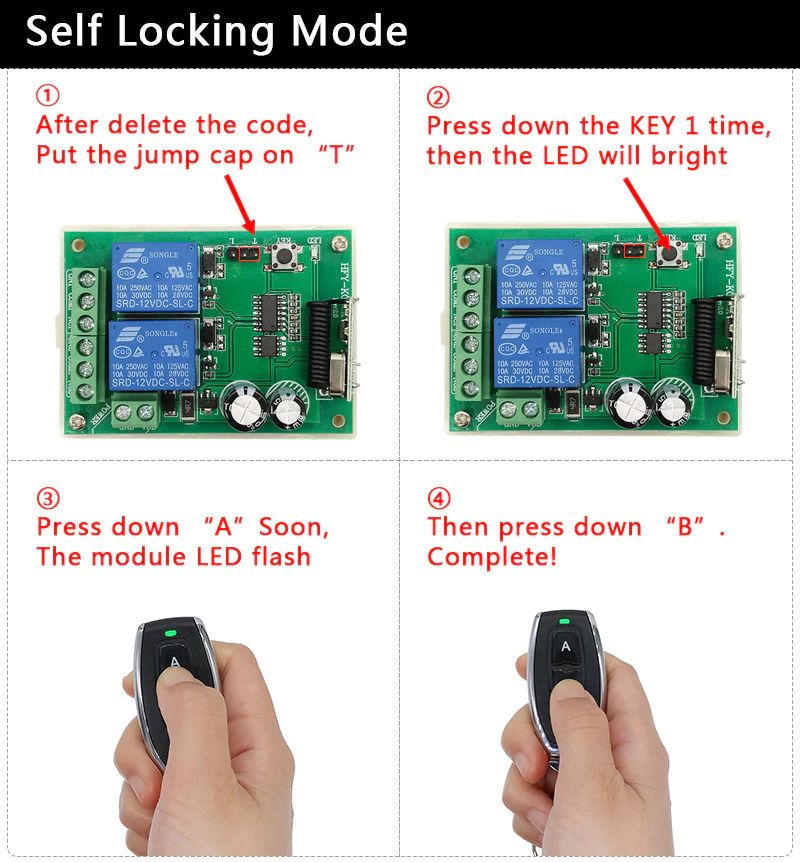
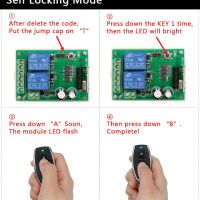
2. Toggle/Self-Lock: Press->on; Press again->Off
Press one button for one time , the corresponding channel is working/on;
Press the same button again is stop/OFF .
(4 channel switch(receiver) need 4 button remote control (transmitter)).
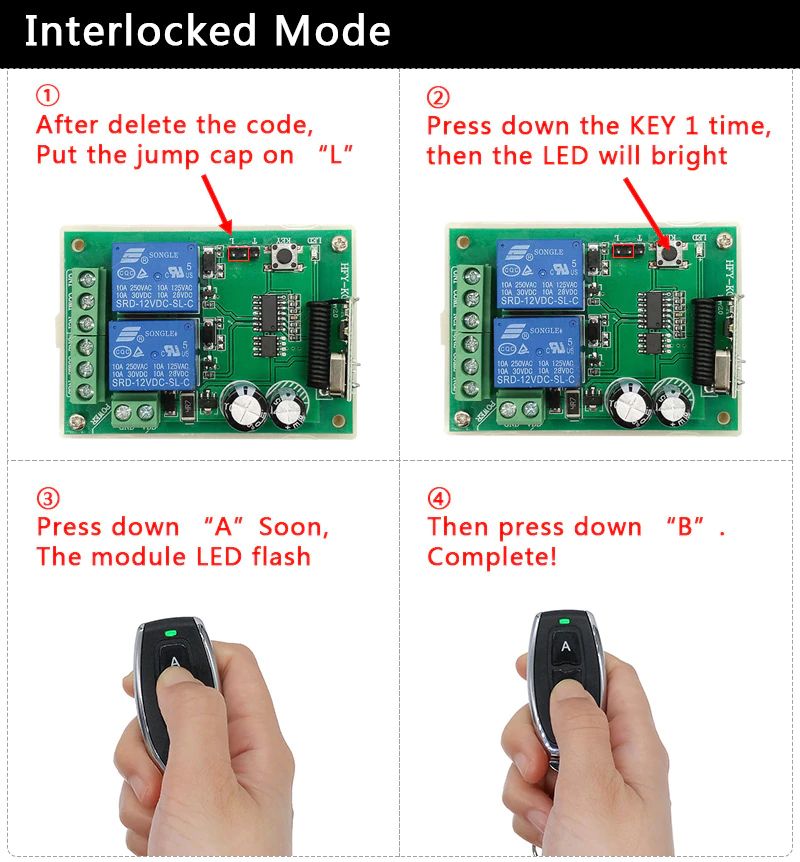
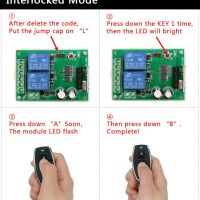
3. Latched/Inter-Lock: Press->on; Press other button->Off
Press one button for one time, the corresponding channel is working/on;
Press another button is stop/OFF(At the same time, another corresponding channel works) .
( 4 channel switch( receiver) need 4 buttons remote control (transmitter).
The Setting of Working Mode:
1.Momentary Mode: Pressing the learning key button on the receiver board once (LED Indicator on receiver board will signaling simultaneously), then press any of the remote button, signaling three times by remote’s LED indicator means setting Momentary Mode successfully.
2. Toggle Mode: Pressing two times the learning key button on the receiver board twice(LED Indicator on receiver board will signaling simultaneously),then press any of the remote button , signaling three times by remote’s LED means setting Toggle Mode successfully.
3. Latched Mode: Pressing the learning key button on the receiver board three times (LED Indicator on receiver board will signaling simultaneously), then press first remote button, follow on second remote button, signaling three times by remote’s LED indicator means setting Latching Mode successfully (first button stands for on, second button stands for off ).
4. 2CH Momentary + 2CH Toggle: Pressing the learning key button on the receiver board four times(LED Indicator on receiver board will signaling simultaneously),then press any of the remote button , signaling three times by remote’s LED indicator means setting successfully.
5. 2CH Momentary + 2CH Latched: Pressing the learning key button on the receiver board five times(LED Indicator on receiver board will signaling simultaneously), then press any of the remote button, signaling three times by remote’s LED indicator means setting successfully .
6. 2CH Toggle + 2CH Latched: Pressing the learning key button on the receiver board six times(LED Indicator on receiver board will signaling simultaneously), then press any of the remote button, signaling three times by remote’s LED indicator means setting successfully.
7. 2CH Latching + 2CH Latched: Pressing the learning key button on the receiver board seven times(LED Indicator on receiver board will signaling simultaneously), then press any of the remote button, signaling three times by remote’s LED indicator means setting successfully.
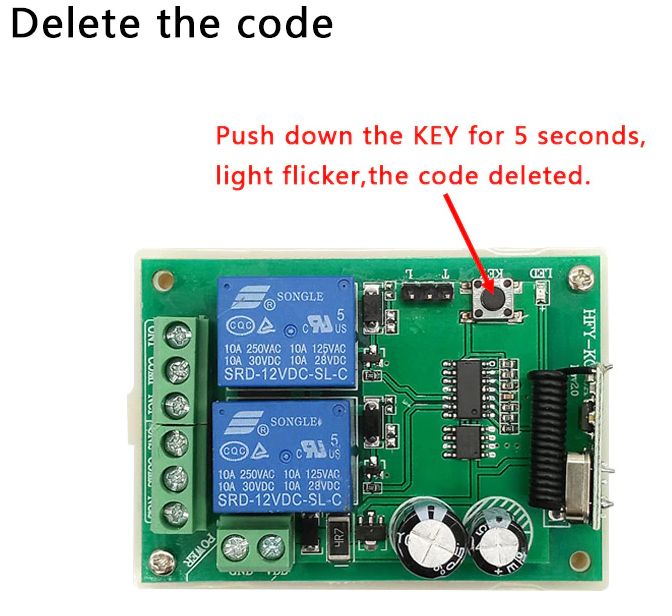
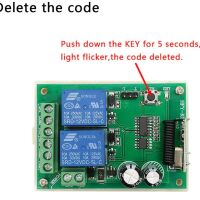
8. Deleting Existing Remote Controls Data: Pressing the learning key button on the receiver board eight times, the LED Indicator on receiver board will flash for eight times, it means that the existing remote controls are deleted successfully.
Aanvullende informatie
| Gewicht | 1000 g |
|---|---|
| Afmetingen | 5 × 8 × 3 mm |


